Autologin for Embedded Ticketing: One-Time SSO Handoff
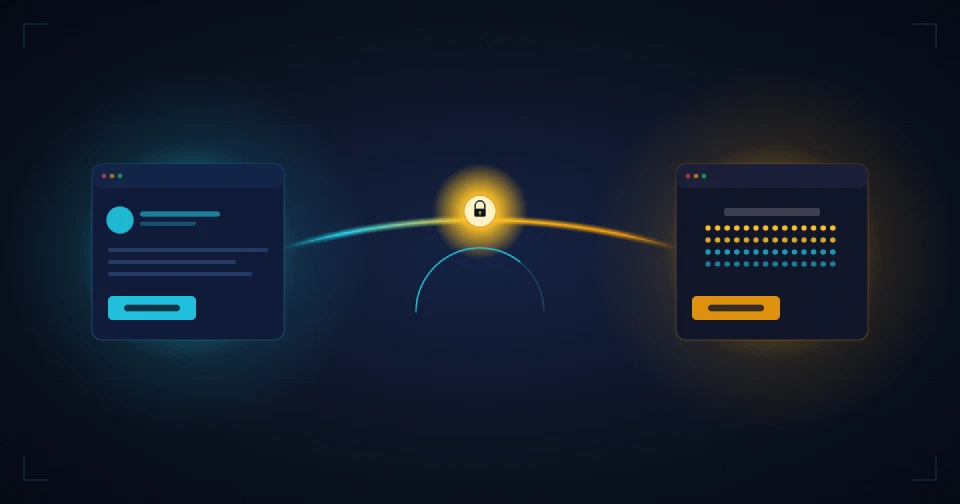
Hand a signed-in user from your ticketing site into the Seatmap Pro editor or booking widget without a second login using single-use SSO codes.
How one venue moves through Seatmap Pro: drawn in the editor, published to the renderer, sold through the Booking API, and filled on the night.
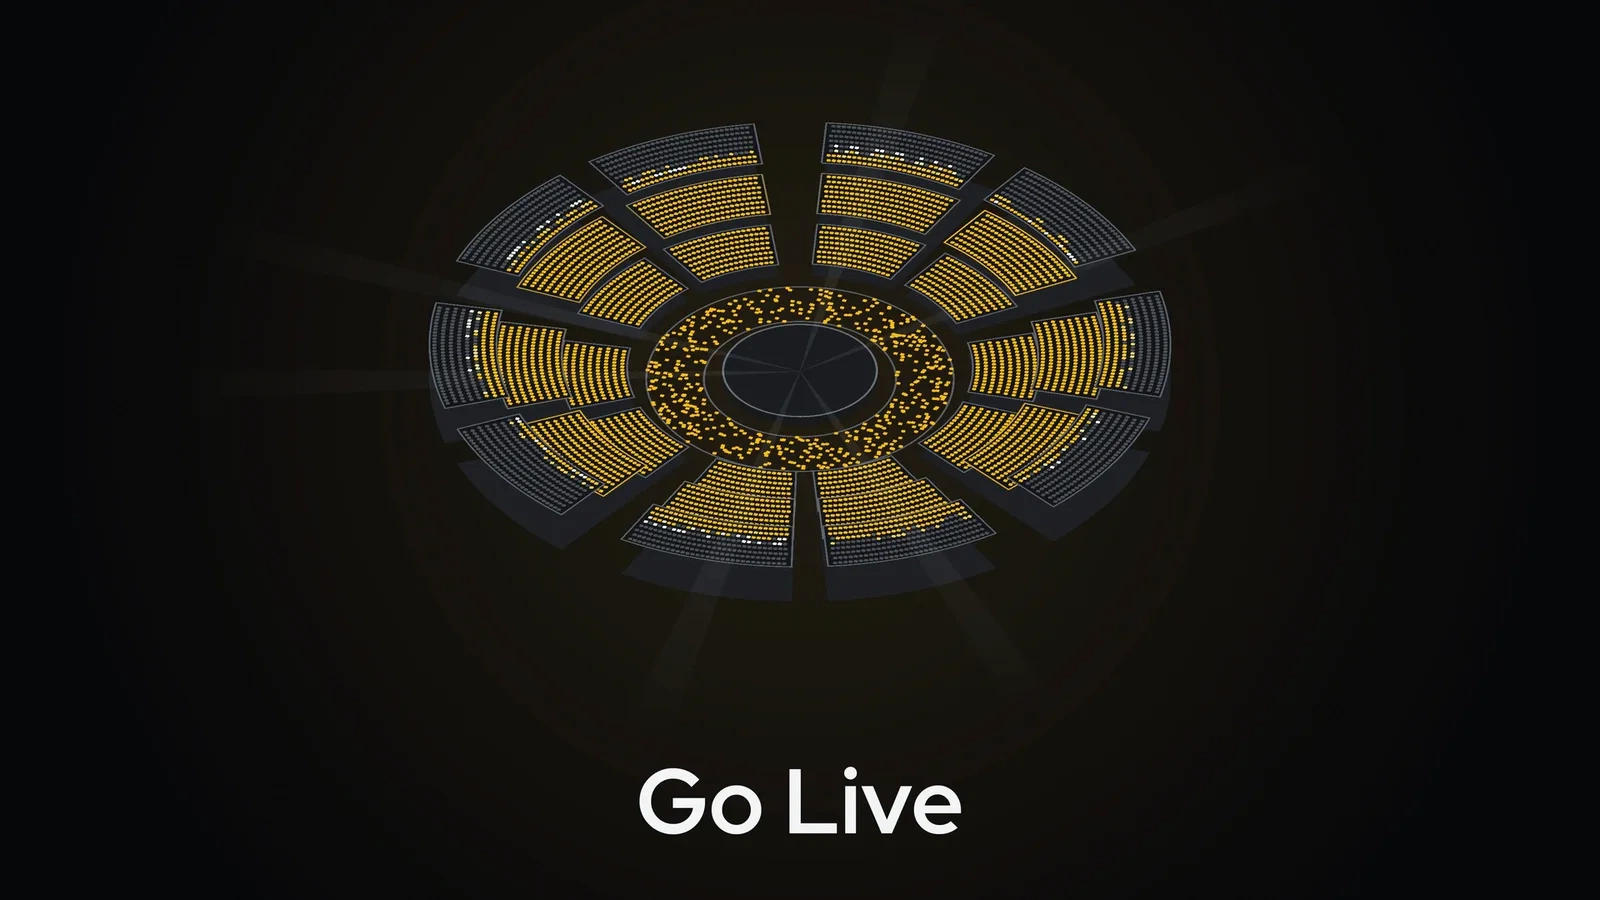
A ticketing platform buys a seat map for one evening. On that evening the house is full, and nobody had to fix a row by hand the day before. Between the empty file and that evening, the venue passes through four stages, and each one belongs to a different part of Seatmap Pro.
We made a short film about that path. It follows one arena with a round stage from a blueprint in the morning to a sold-out night.
This post walks through what happens at each stage and which tool does the work.
You draw the first section in the Editor with the Seat Rows tool. Drag a rectangle, and the Editor shows how many rows and seats it will produce before you let go. After that, the section panel takes care of row labels, outline, alignment, extra rows, rotation and curve by value or slider, and flip. For the next section of the same shape, use Clone Section.
A round venue needs a few more controls:
Until you publish the schema, it stays a Draft. Prices go on the published version, so a half-finished drawing never reaches a sales channel.
When you publish, the schema goes to the Renderer. The booking page loads the @seatmap.pro/renderer SDK with a public key and an event ID, and the buyer sees the venue you drew, with its sections, rows, and prices.
If the host page turns WebGL on, the Renderer draws through it. On a device without WebGL, it falls back to HTML5 canvas. The 3D view reads the same schema and adds depth, so you don’t rebuild the drawing for another view. You can try it in the Playground with the view3D preset.
After sales open, the platform handles seats through the Booking API:
Since version 1.72.0, the Booking API can also refuse a selection that would leave a single seat stranded between sold ones. In that case it returns HTTP 422 with ORPHAN_SEATS_REFUSED. A fault in the check itself never blocks a sale. In that case the sale goes through.
This part of the film shows no tools at all. By the evening, the drawing, the prices, and the seat locks were all settled in the Editor and the Booking API.
The largest venue on Seatmap Pro today seats 80,000. It runs on a customer deployment with real ticket sales.
You draw the schema once in the Editor and publish it once. The Renderer then shows it on every device, and the API sells it seat by seat. Each stage has its own tool, and none of them asks you to redraw the venue.
If you want to walk your own venue through these four stages, book a demo and we’ll build the first sections with you.
See how a seat map records accessible seats, styles them in the renderer, and where keyboard and screen-reader work belongs to your own page.
Hand a signed-in user from your ticketing site into the Seatmap Pro editor or booking widget without a second login using single-use SSO codes.
A developer guide to SVG for seating charts: viewBox and coordinates, Illustrator and Figma export gotchas, path simplification, and when to rasterize.